FIDO Relay and Sensor Deployment
This Article will walk you through how to deploy a Relay unit along with a sensor.
Written By Gareth Lloyd
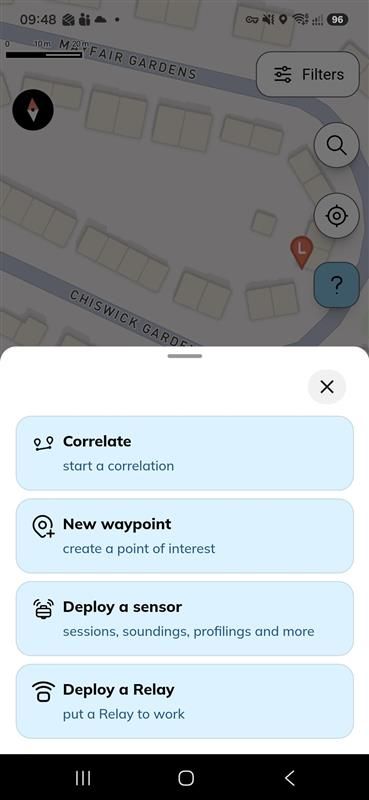
Once you open the app, tap on the ‘actions’ tab at the bottom of the screen, at the bottom of the list you will see ‘Deploy a relay’, tap it.
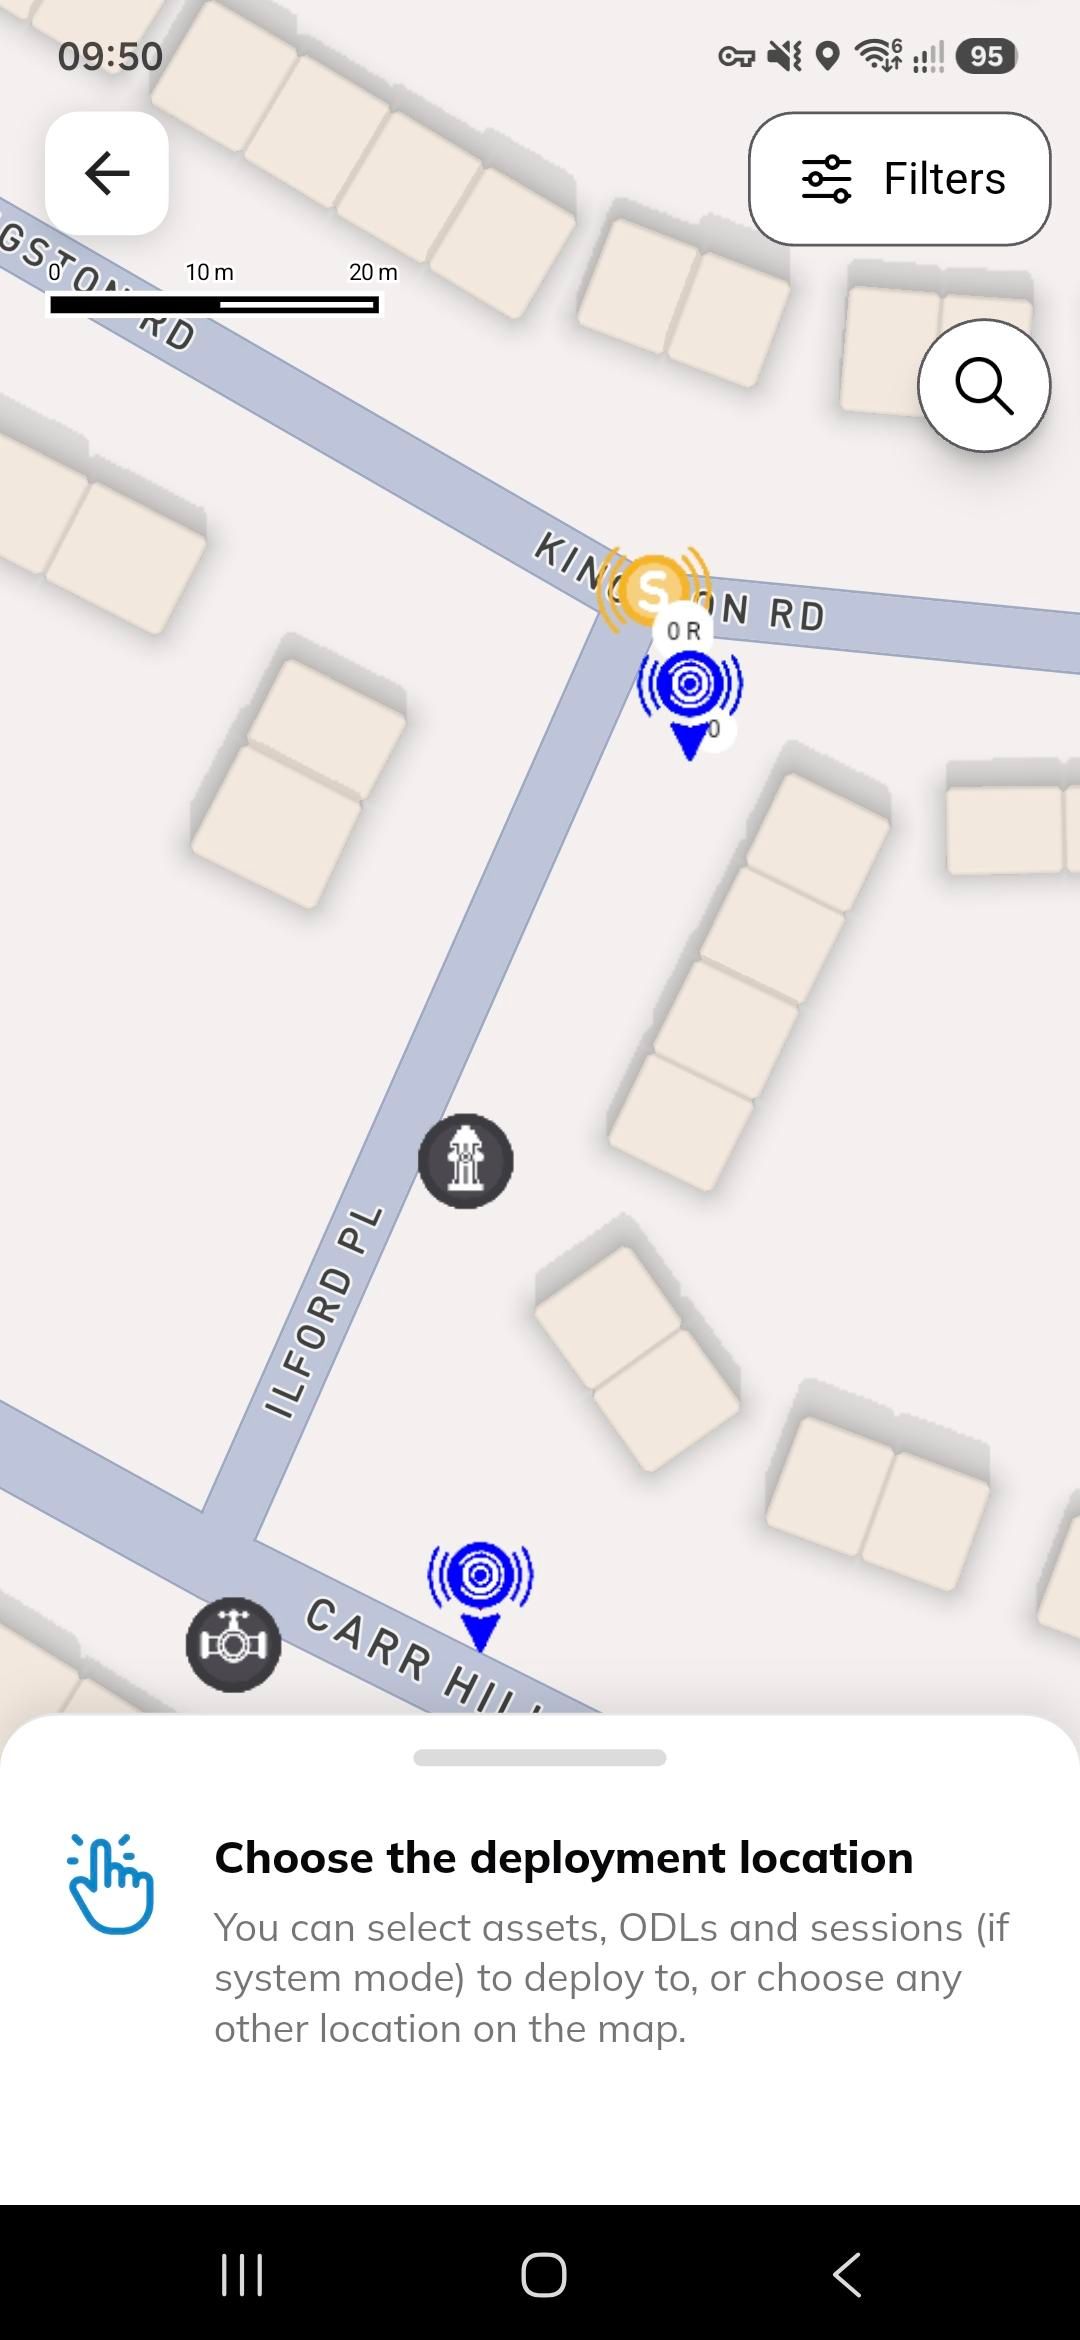
This will open the next screen, you now choose the deployment location. You can select three different things at this point. If you are using ODLs, the ODL icon will appear, tap on the ODL you would like to deploy to and the icon will be highlighted with a blue square, tap ‘Continue’.
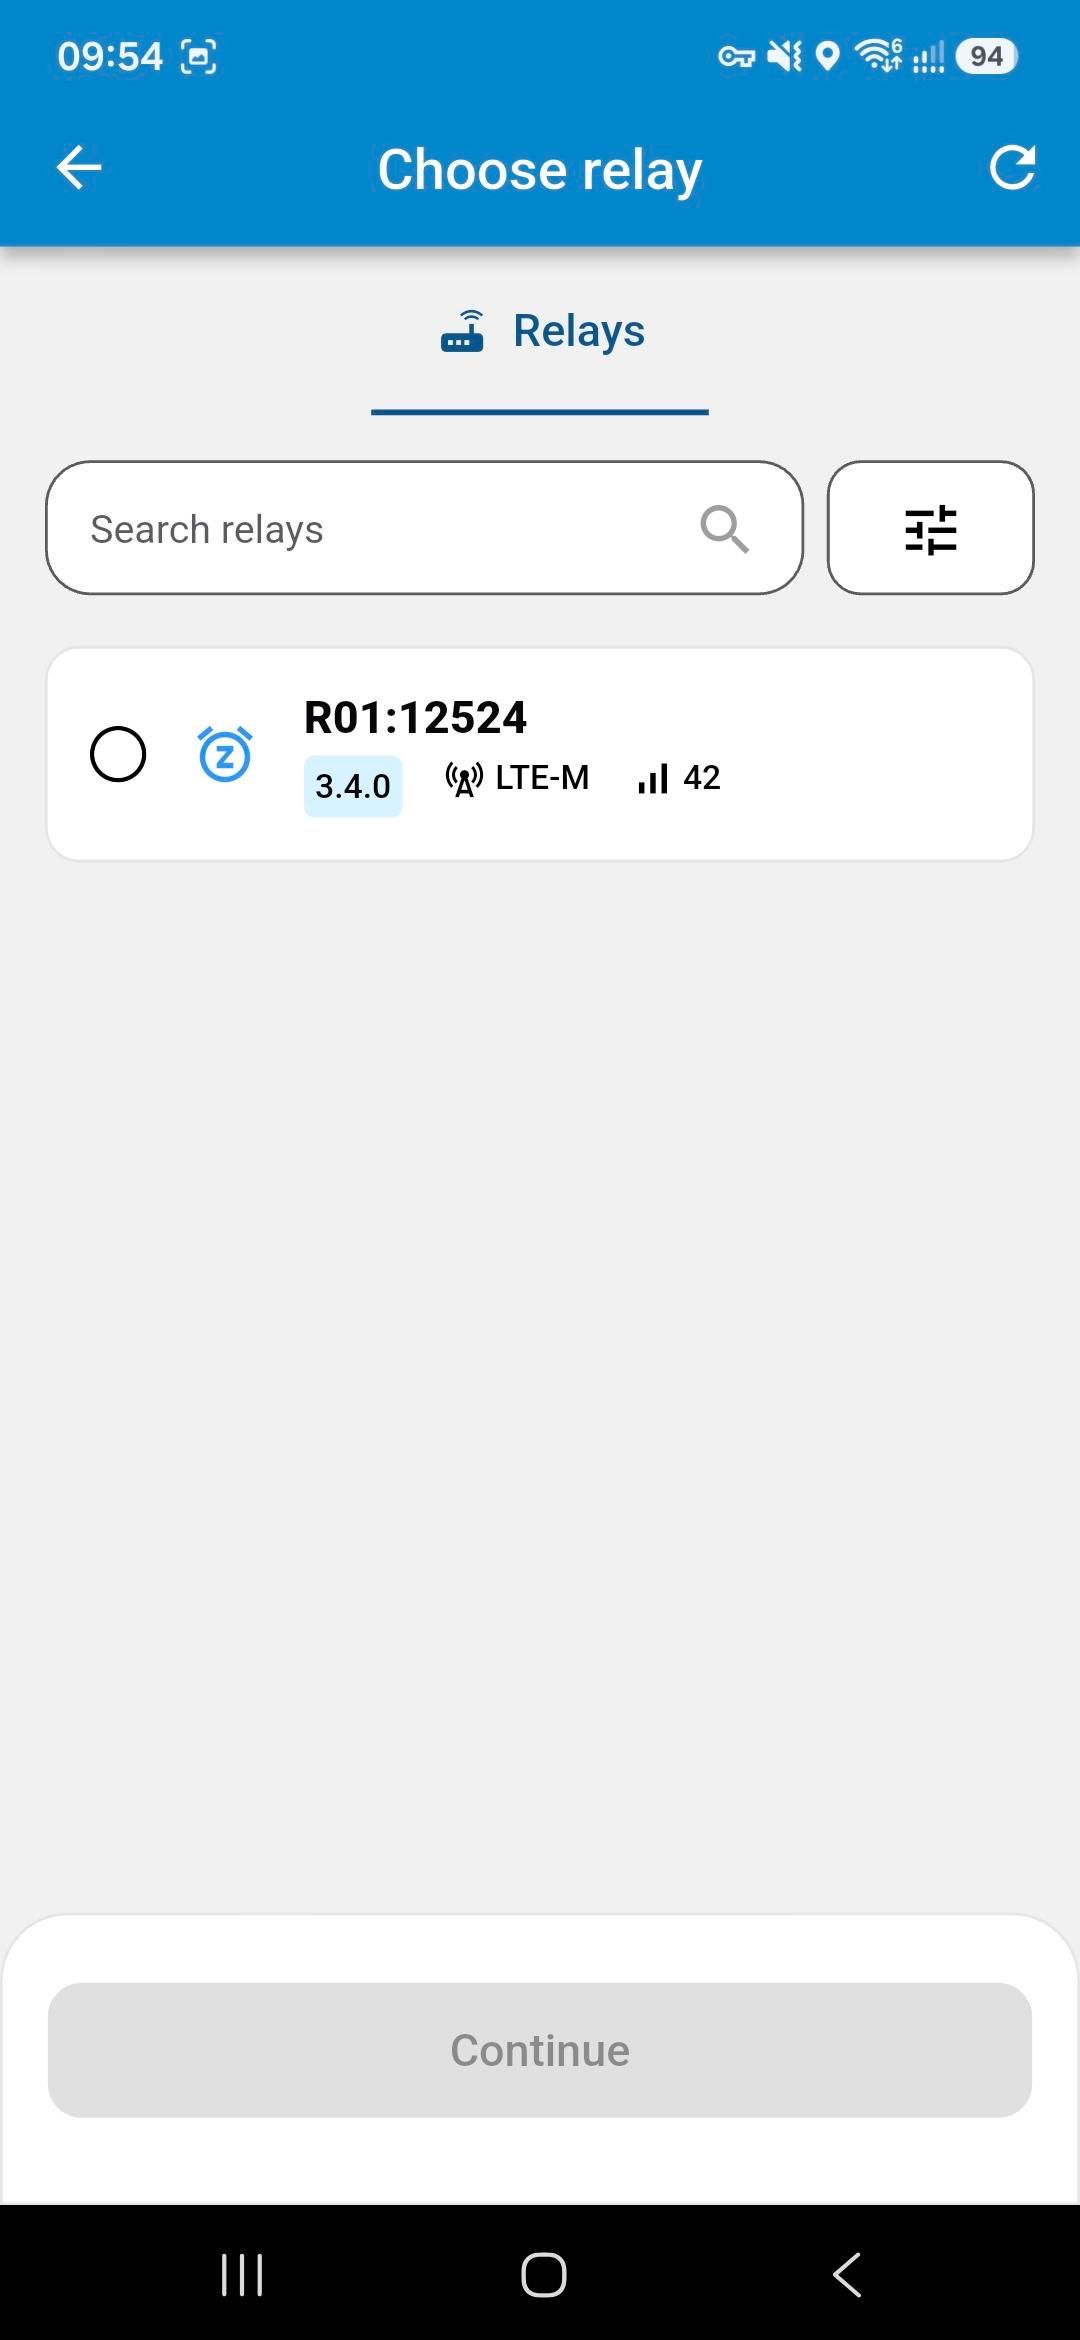
You will then be prompted to select the Relay unit you wish to deploy. If you have multiple units close by then you can search for the unit you want by typing the Relay ID into the search bar, otherwise you can tap the filter icon to scroll the bar right to left, when you slide left only units within close proximity will be visible. Select the unit you wish to deploy and tap ‘Continue’.
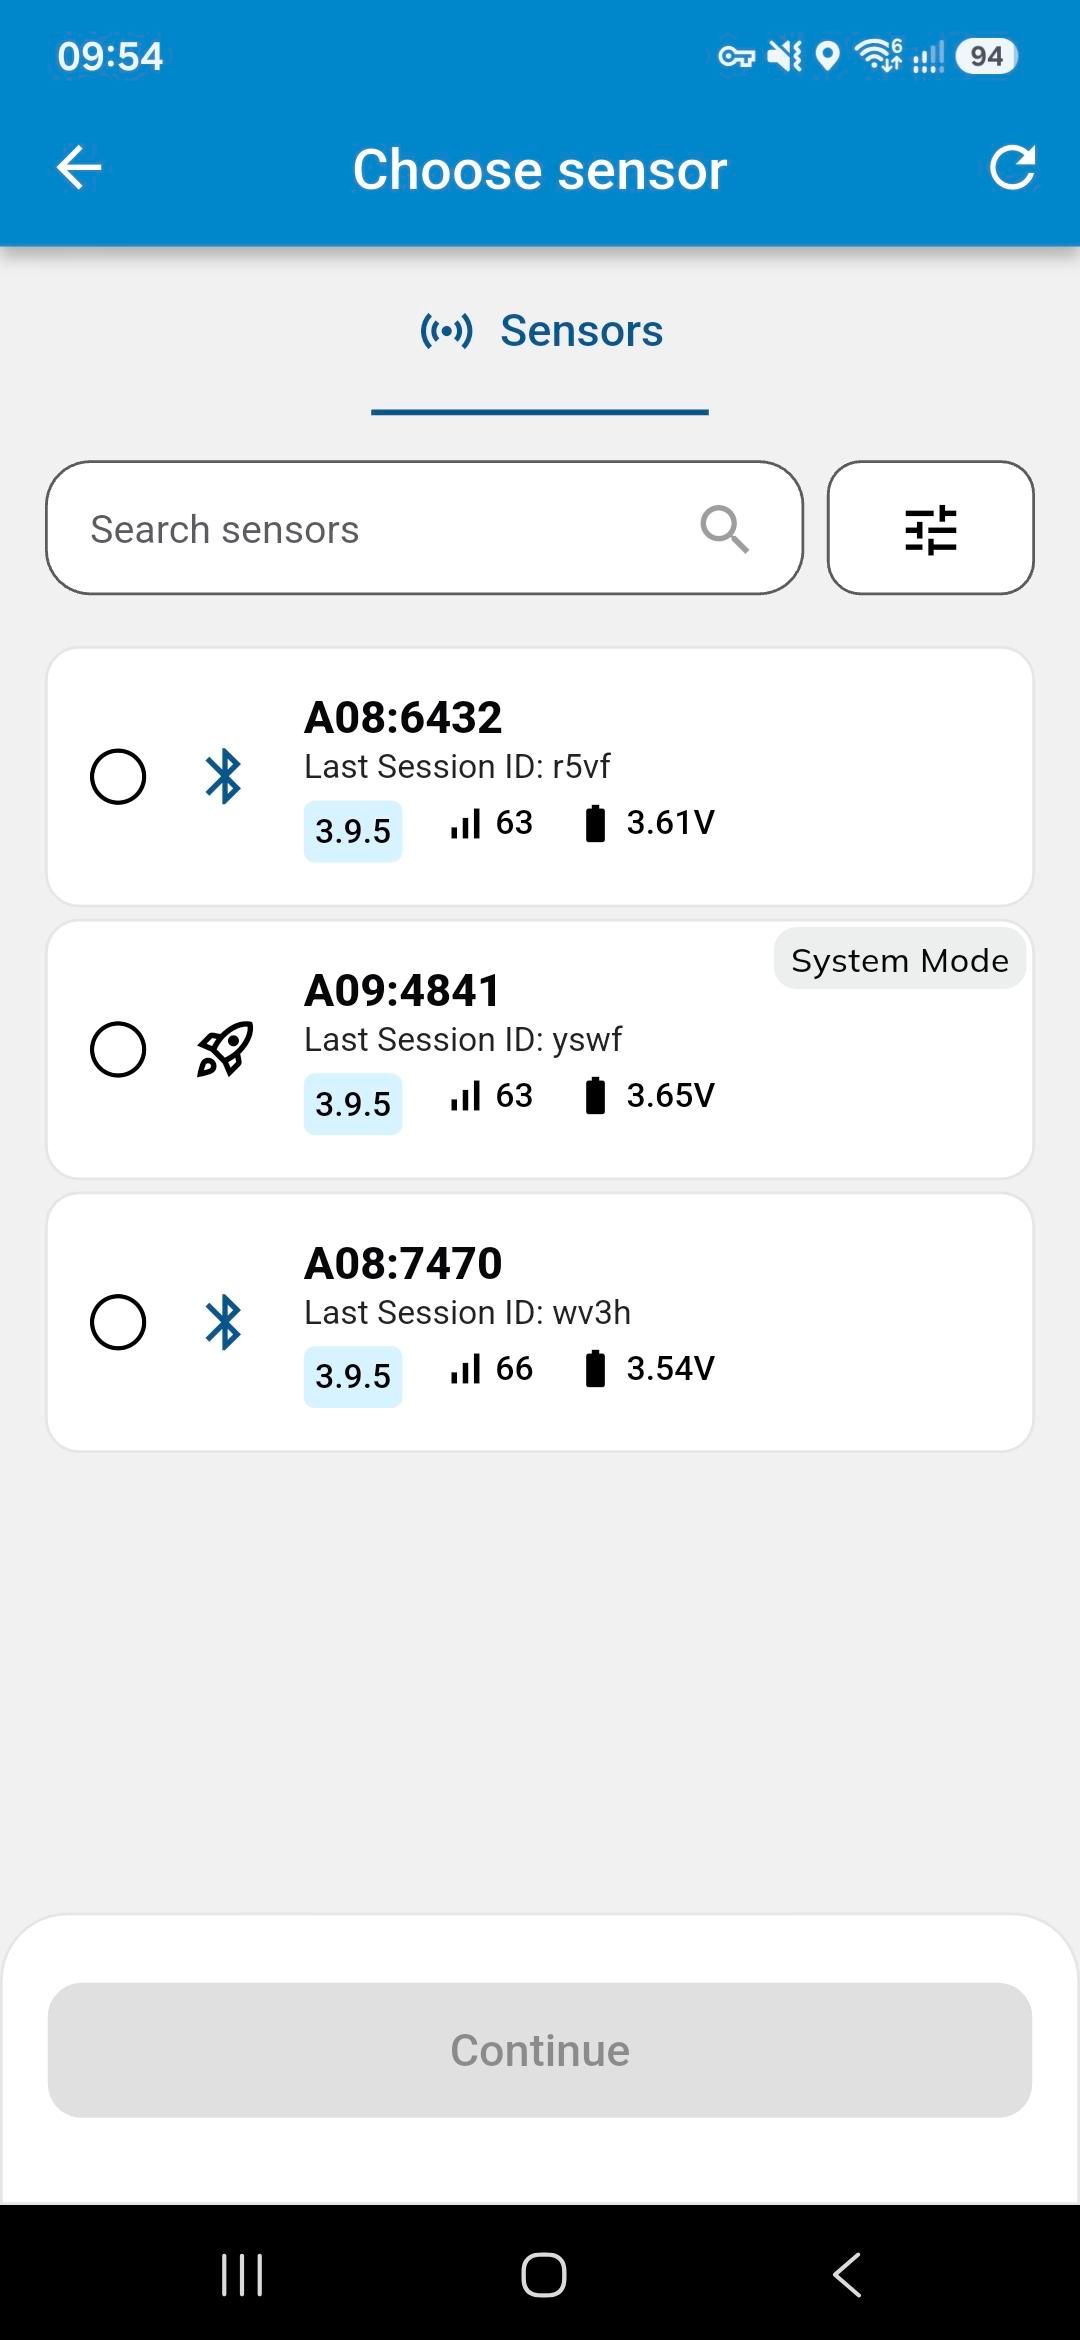
Now it is time to select the sensor you wish to deploy. Just like the Relay, you can search for a specific sensor and filter the strength to only pick up sensors close to the phone. When selecting the sensor, if the sensor is already deployed in system mode, you will be asked if you want to link the relay to the existing session or if you would like to start a new session. If the sensor you choose has no current session set up, then you can just tap ‘Continue’.
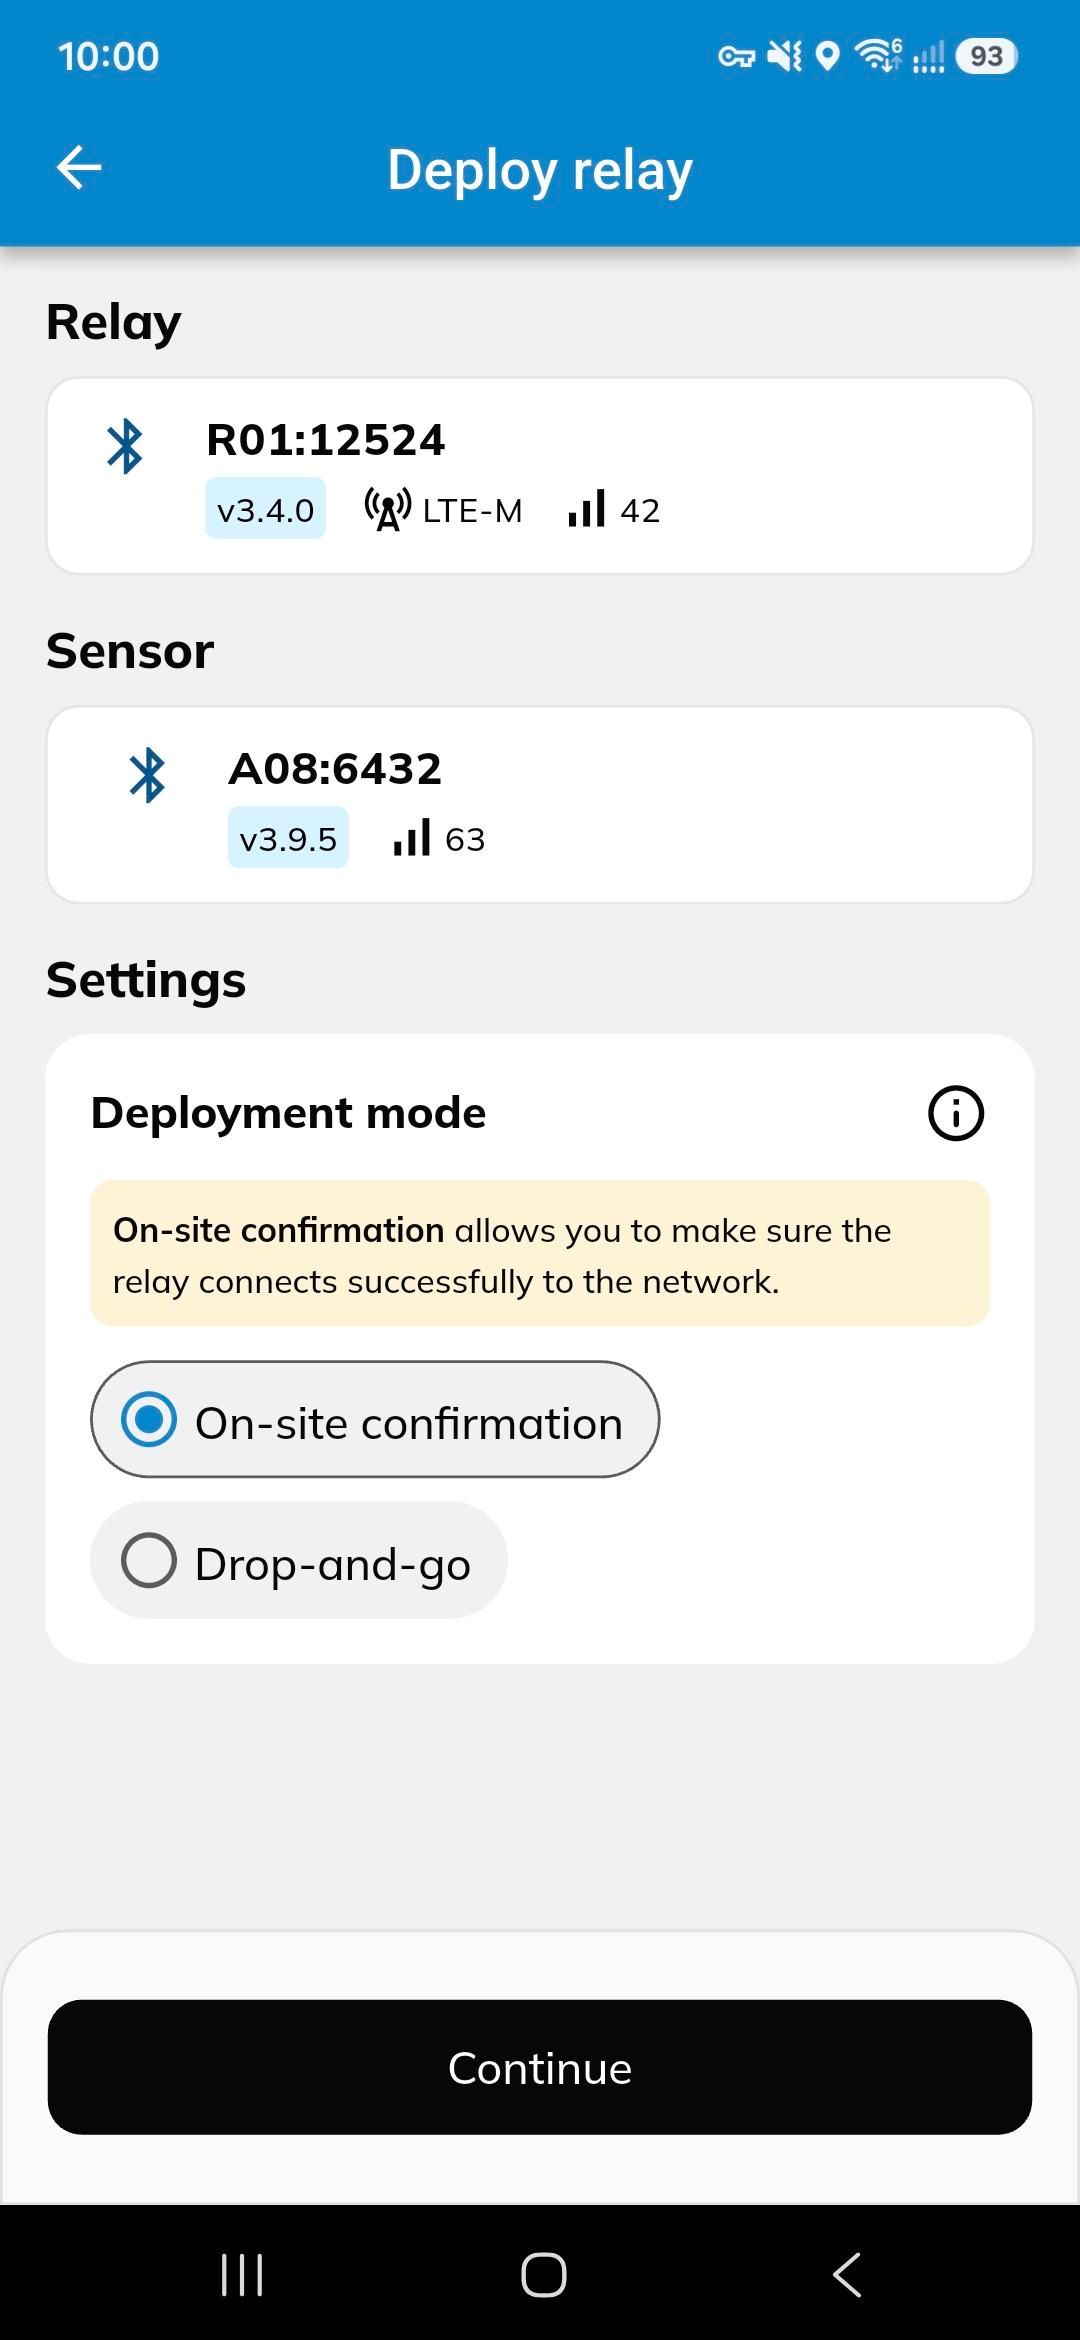
The next screen you see will confirm the Relay ID and the Sensor ID and will ask you to confirm which deployment mode you would like to select.
· On-site confirmation – On-site confirmation allows you to make sure the relay connects successfully to the network. Once the Relay is in position you must wait by the relay until a confirmation message shows.
· Drop-and-go – Drop-and-go is a quicker deployment process. The connection will be checked remotely, once the relay is in position and you have followed the process you can move onto the next location without having to wait for confirmation.
After you have selected the deployment method you will be shown a diagram of how the relay should be installed. Where possible attach the Relay unit to the lid of the chamber, either flat against the roof of it, or if space does not allow for that, use the side of the lid. When installed this way the thicker side of the relay should be pointing down.
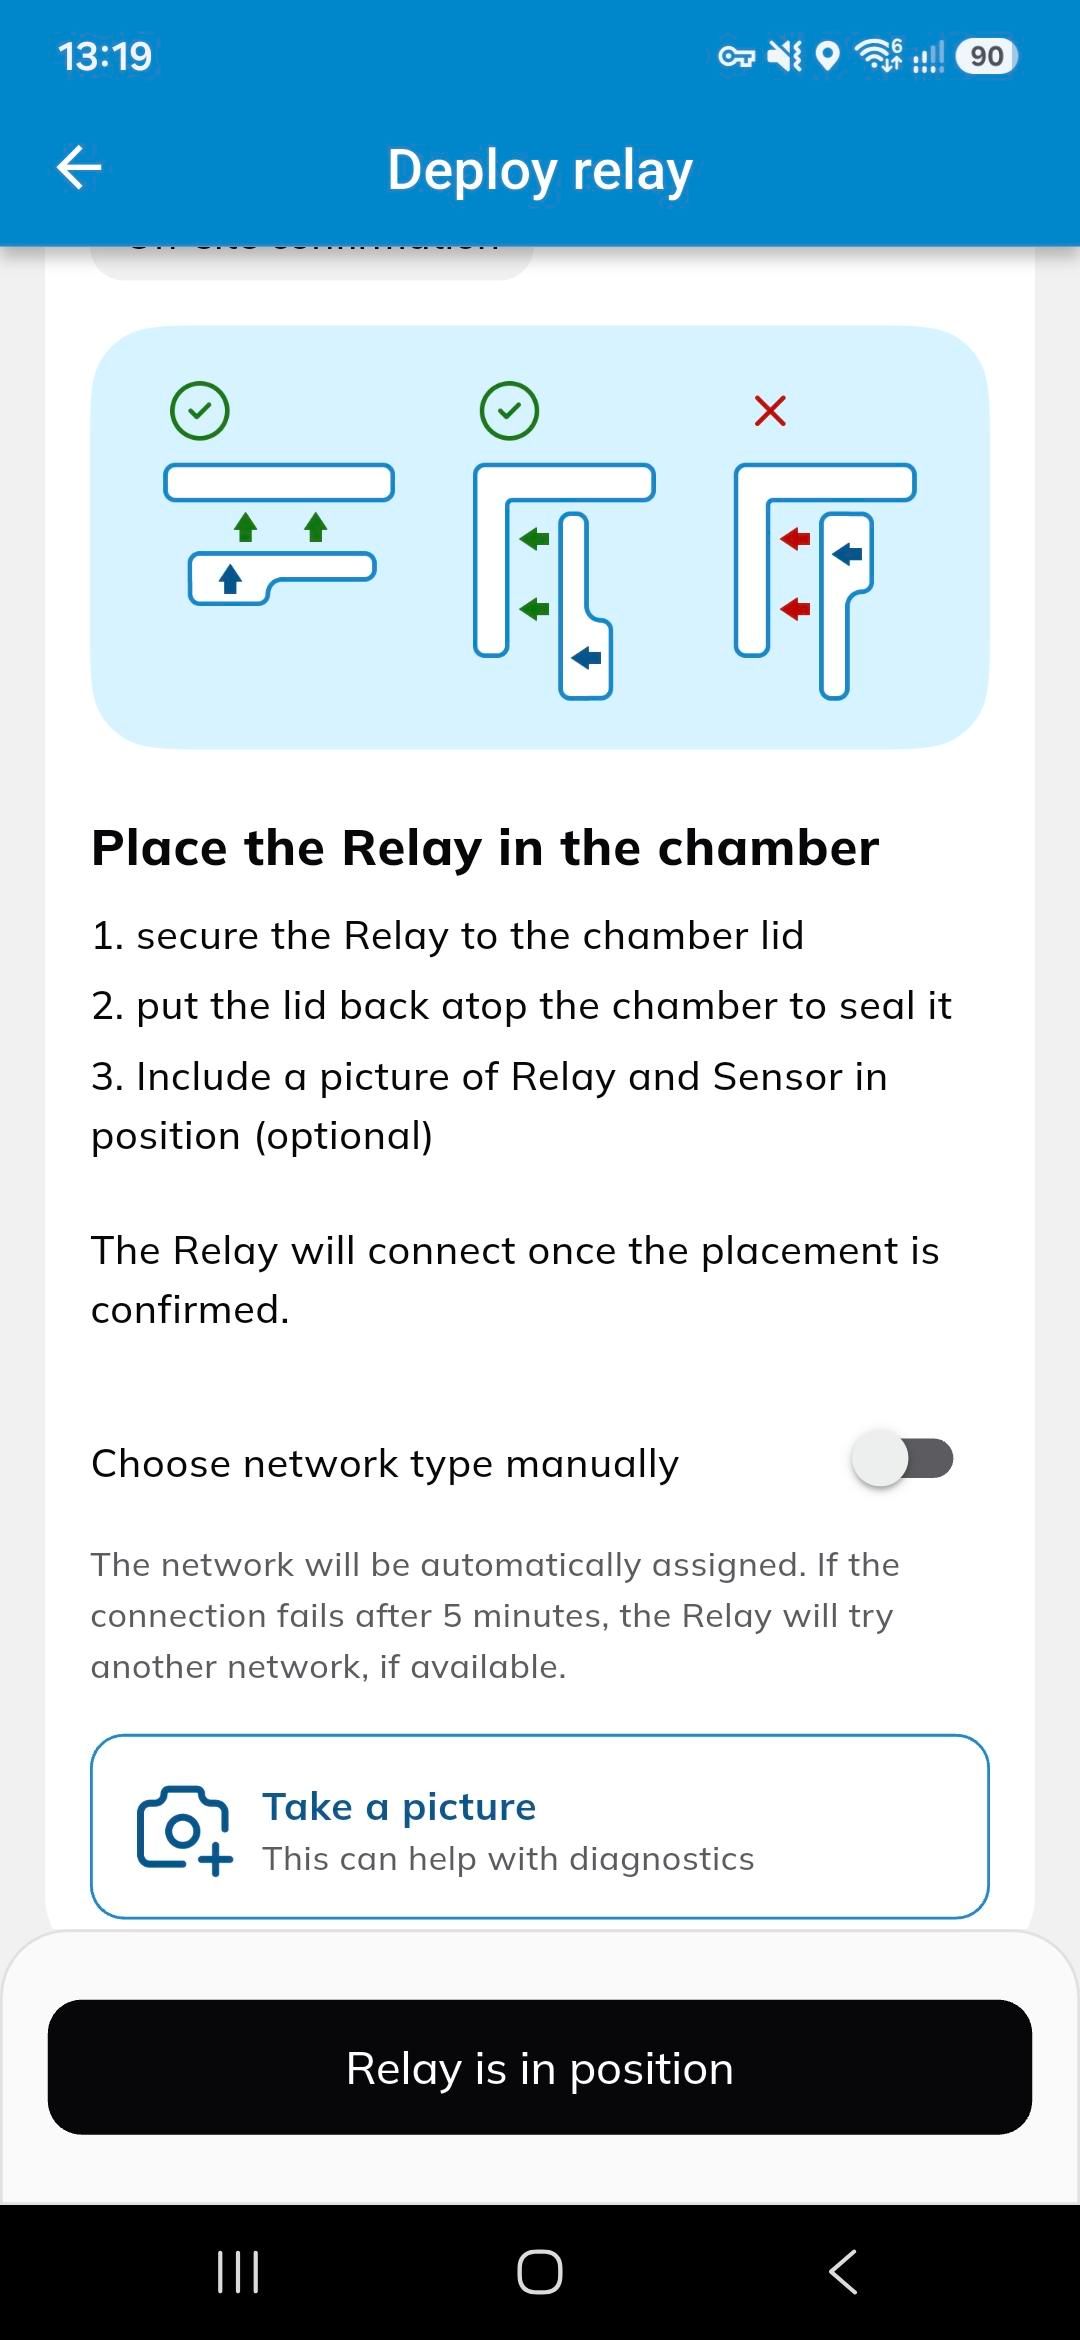
Once installed you can choose the network type manually if you know which network has better coverage. Or you can leave it to default, this will make the unit attempt to connect using NB-IoT, if it cannot connect using that then it will automatically switch to LTE-M. Finally, we recommend taking pictures of the sensor and Relay unit in place on the asset as well as photos of the asset you use, these will save to the session and make it easier for another engineer following up to locate the asset deployed on.
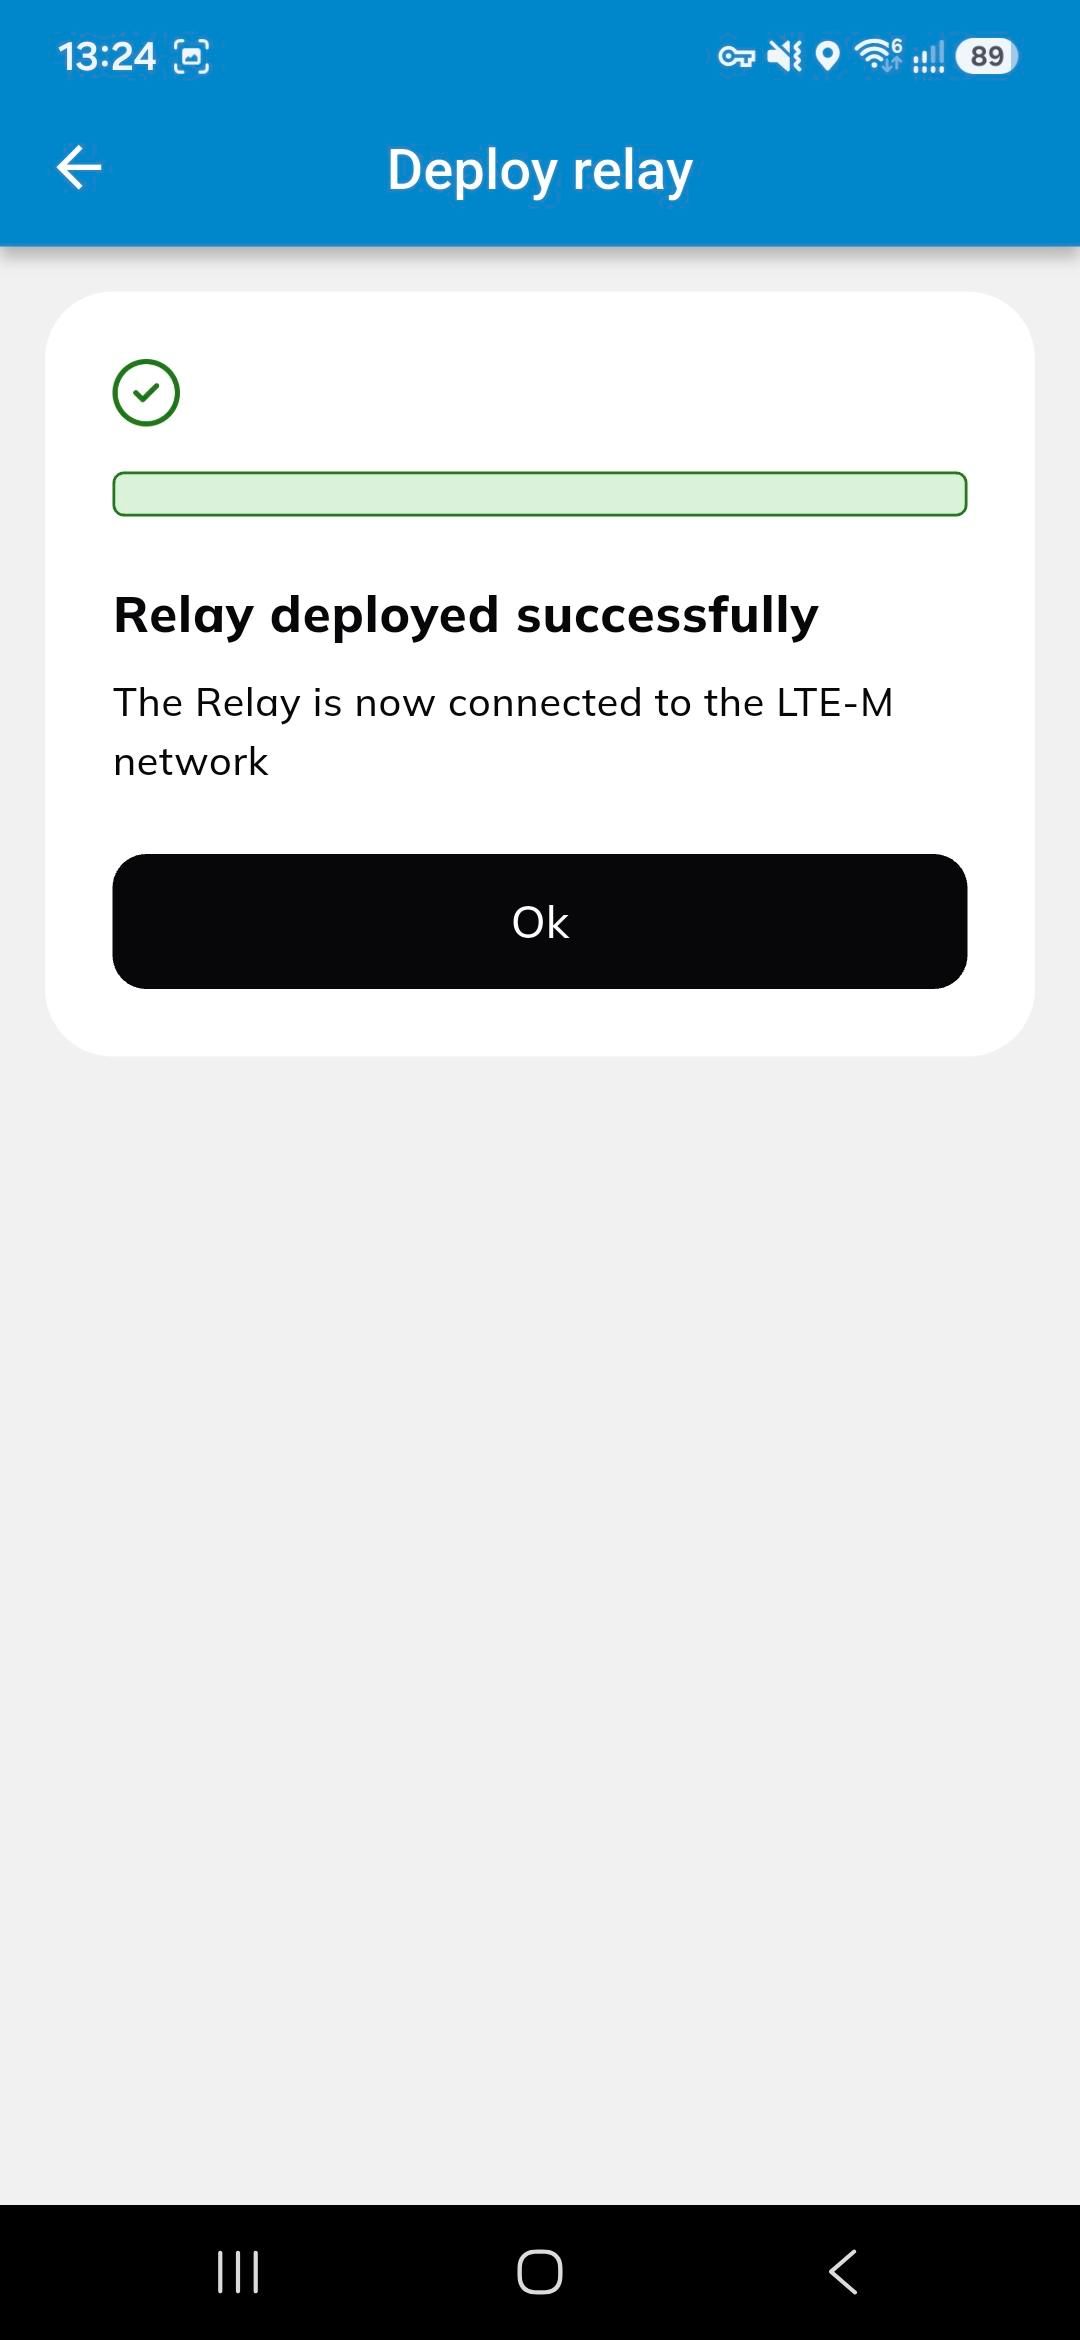
When all of this is complete, tap ‘Relay is in position’. You will see a process bar while the relay and sensor are set up, once you see ‘Relay deployed successfully’ just tap on ‘Ok’.
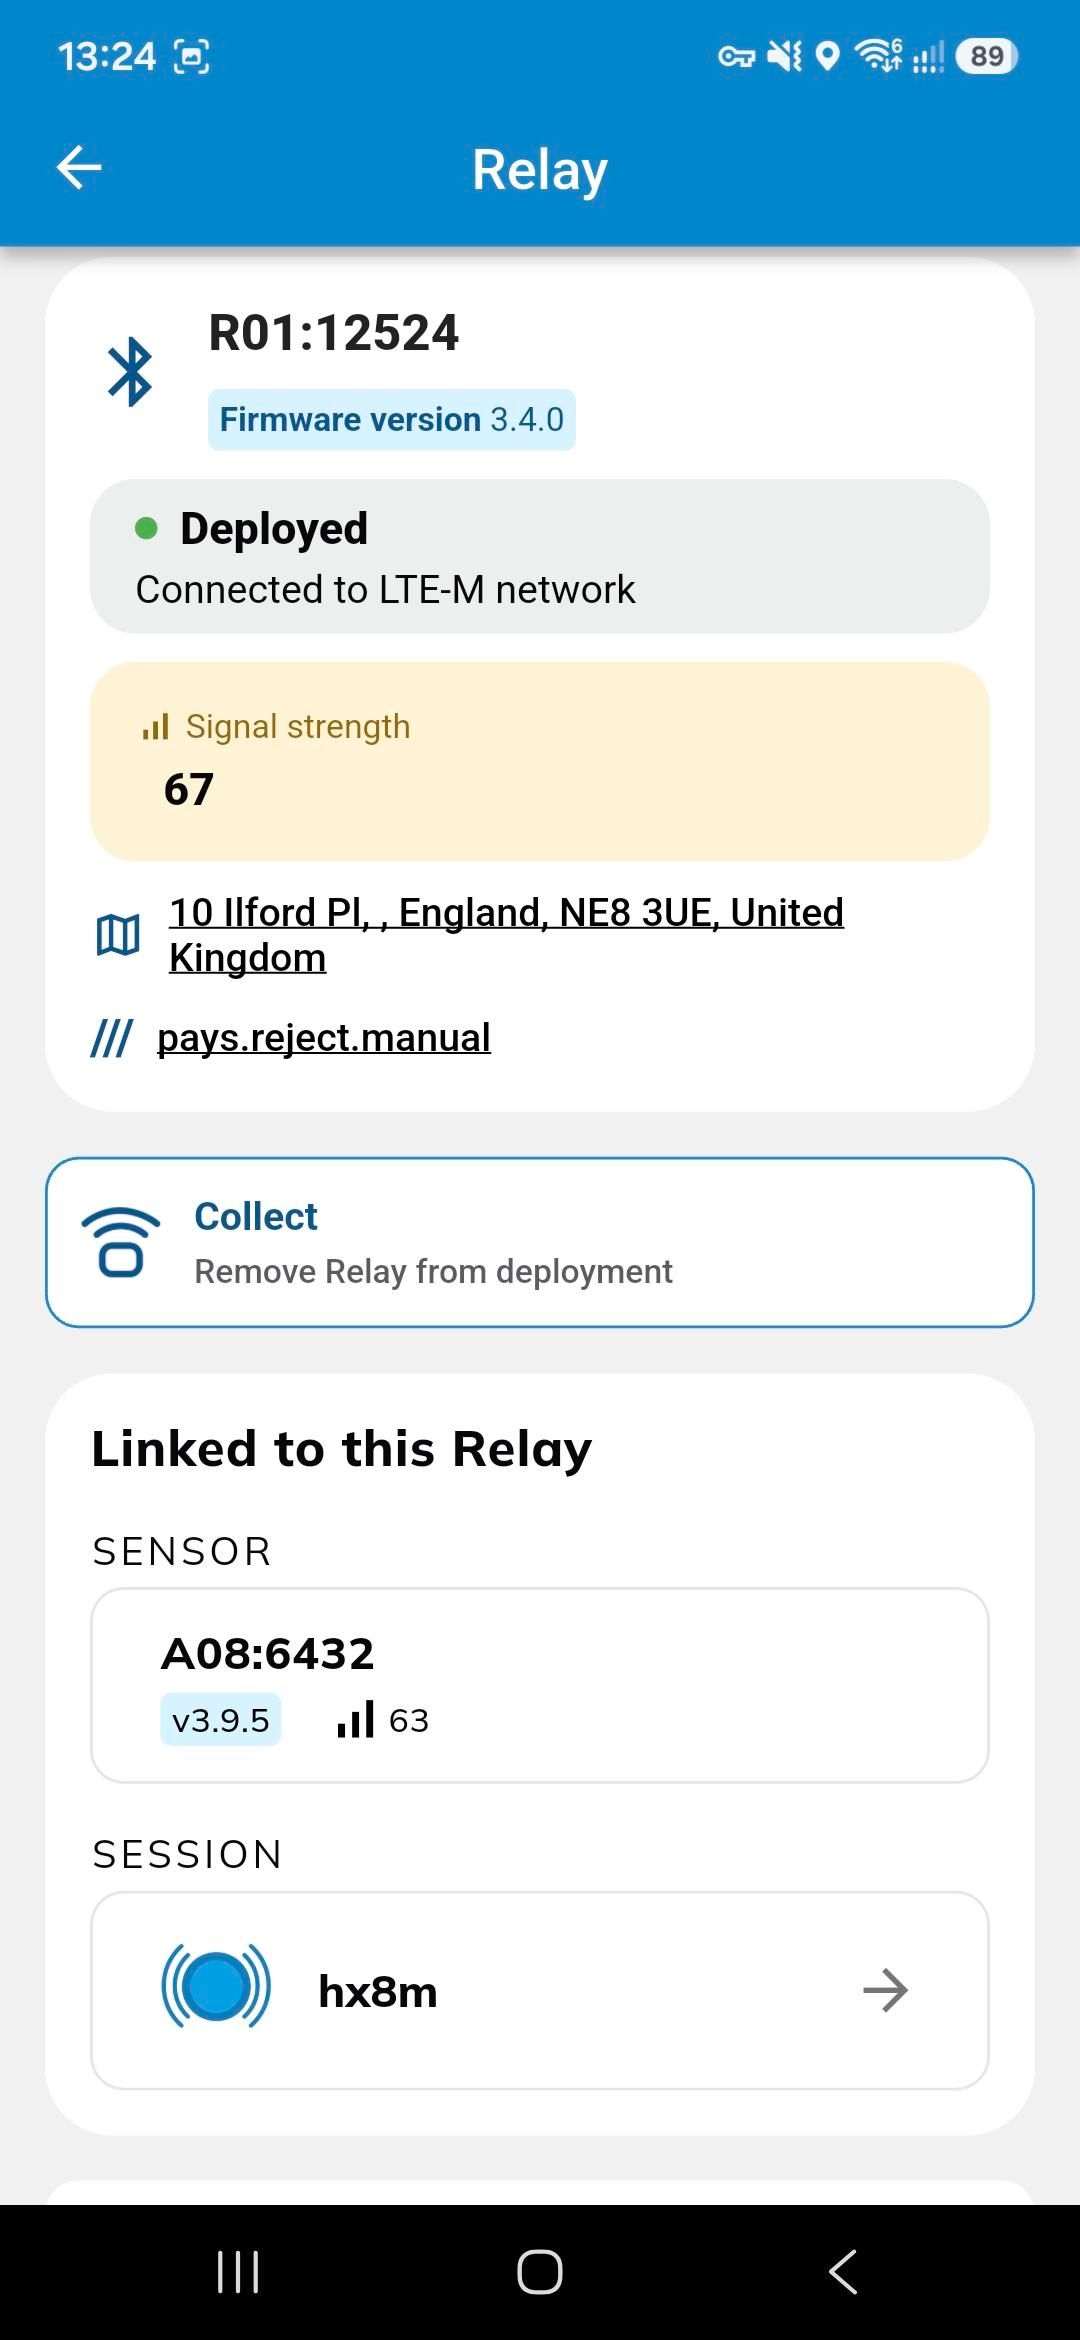
You will be taken to the Relay page which will show you the status of the Unit, what sensor/session is linked to that unit and any photos taken. If you forgot to take the pictures before, you can now ‘add media’ from this page.
Tap the back button and you will be taken back to the map. If you now press the ‘GIS’ button on the home screen, you will see the ODL has turned from blue to green and a relay ICON appears beneath it.
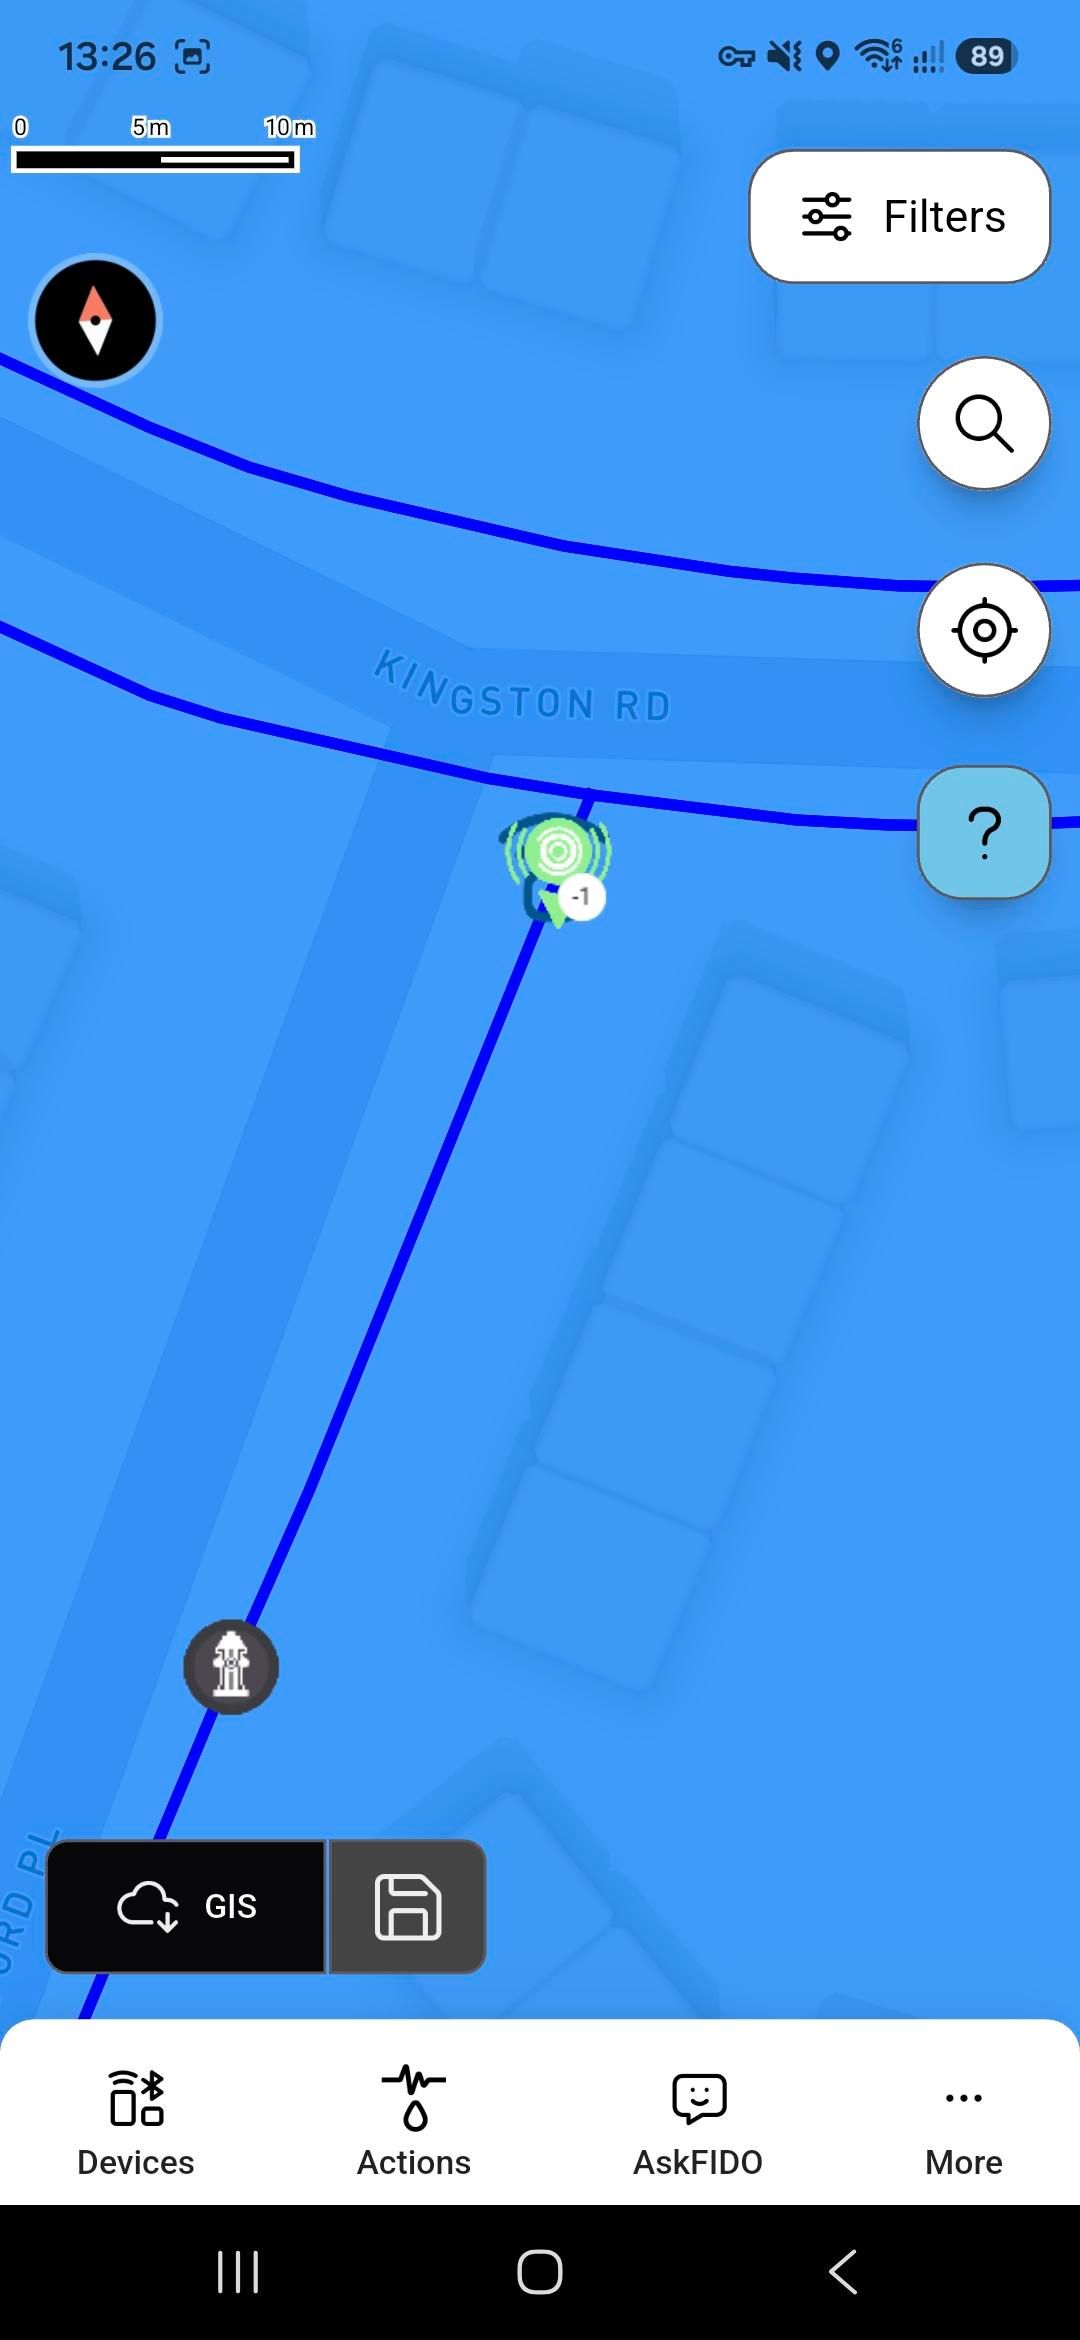
If you are not working with ODLs, the flow of work is the same, the only difference is that when you select the deployment location you can either select an asset, or if the GIS is incorrect and no asset appears in the location you wish to deploy you can just tap on the location on the map.